nOversight Wi-Fi Reports
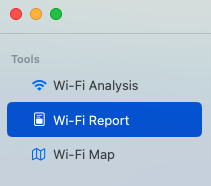
The Wi-Fi Report is a separate tool for investigating sub-sections of the test.

The objective is to narrow the focus in to sub sections of the test and create individual reports. If for instance you are testing a multi-floor building you may want to focus a report in on each floor and exclude the stairs.
Let's create a report.
Start by ensuring you have the test log loaded.
On the Wi-Fi report tool page you will see the option to add a report. Press the "+" to do this now.

You will be presented with the complete timeline. Use the sliders to focus in on an area of time. And then refresh.

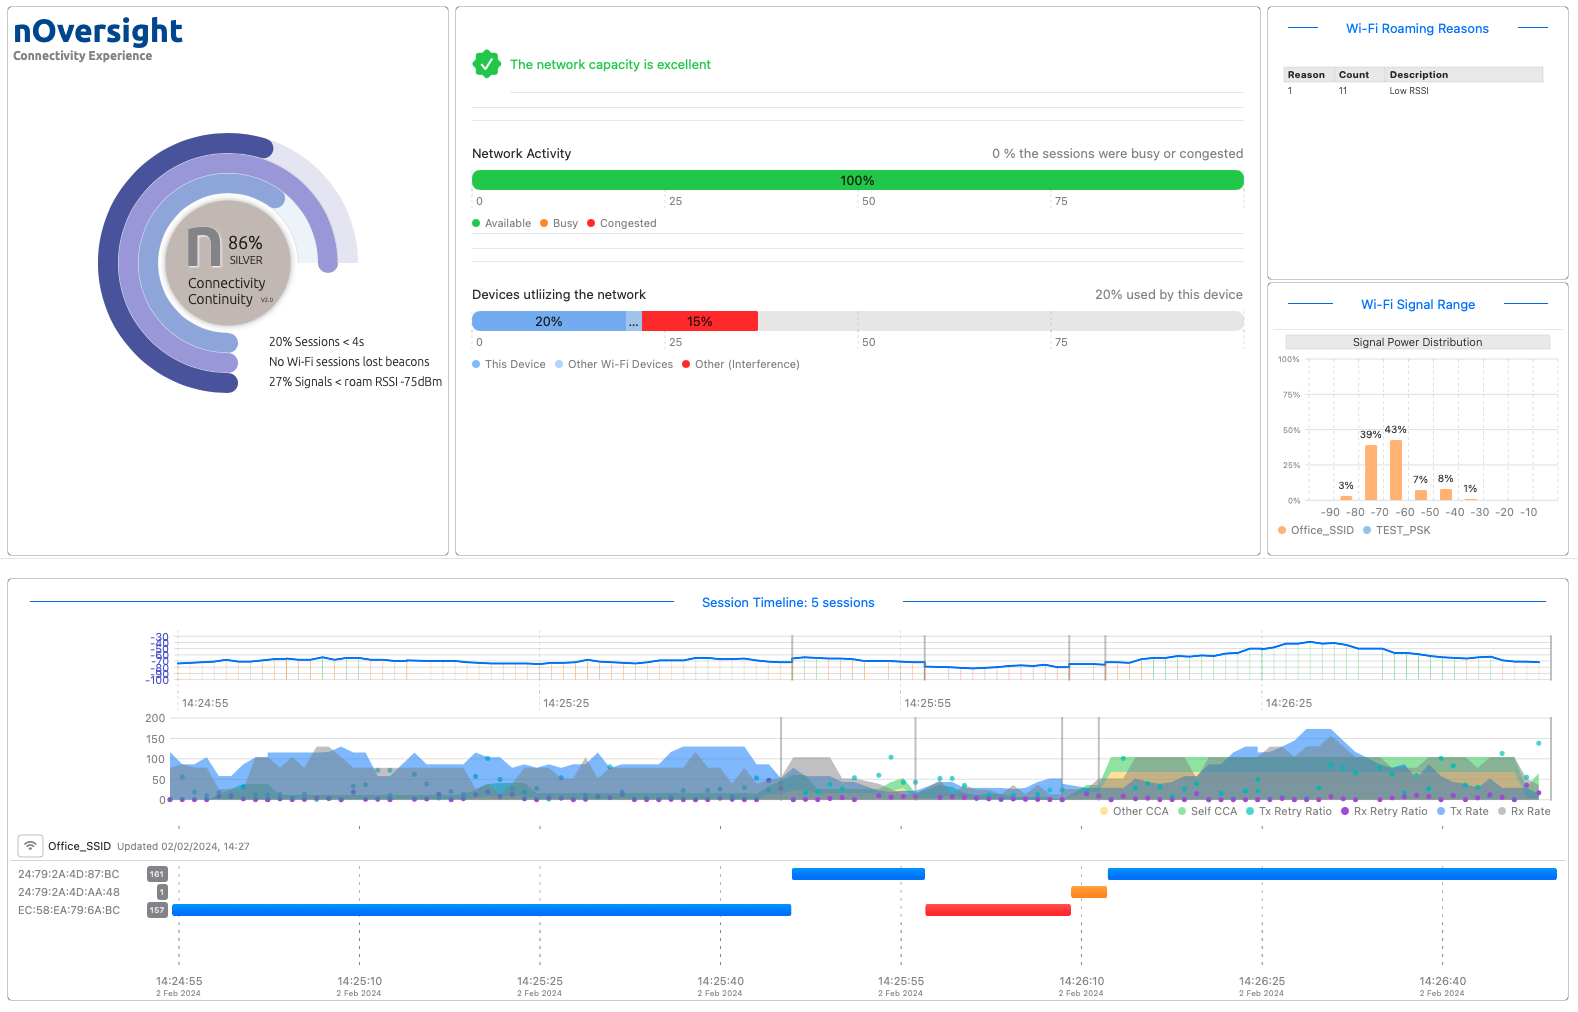
A report is shown which brings together the key outputs we have already explored in the Wi-Fi Analysis section. Now they are together in one grid, focussed on a time of interest and will appear in the PDF if an export is done.

Finally, create multiple reports of differnt time periods. Each report will appear as a page in th PDF.

Last updated